Introduction
What starts as a simple idea—mapping a USB controller to trigger music samples on Linux—can seem daunting at first. But with the right tools, a bit of Python, and a research assistant like You.com by your side, it’s entirely possible to go from zero to a working, performance-ready system in under an hour. Here’s how my iterative, collaborative process with You.com led to a robust and flexible musical trigger.
Step 1: Understanding the device
It began with a classic developer question:
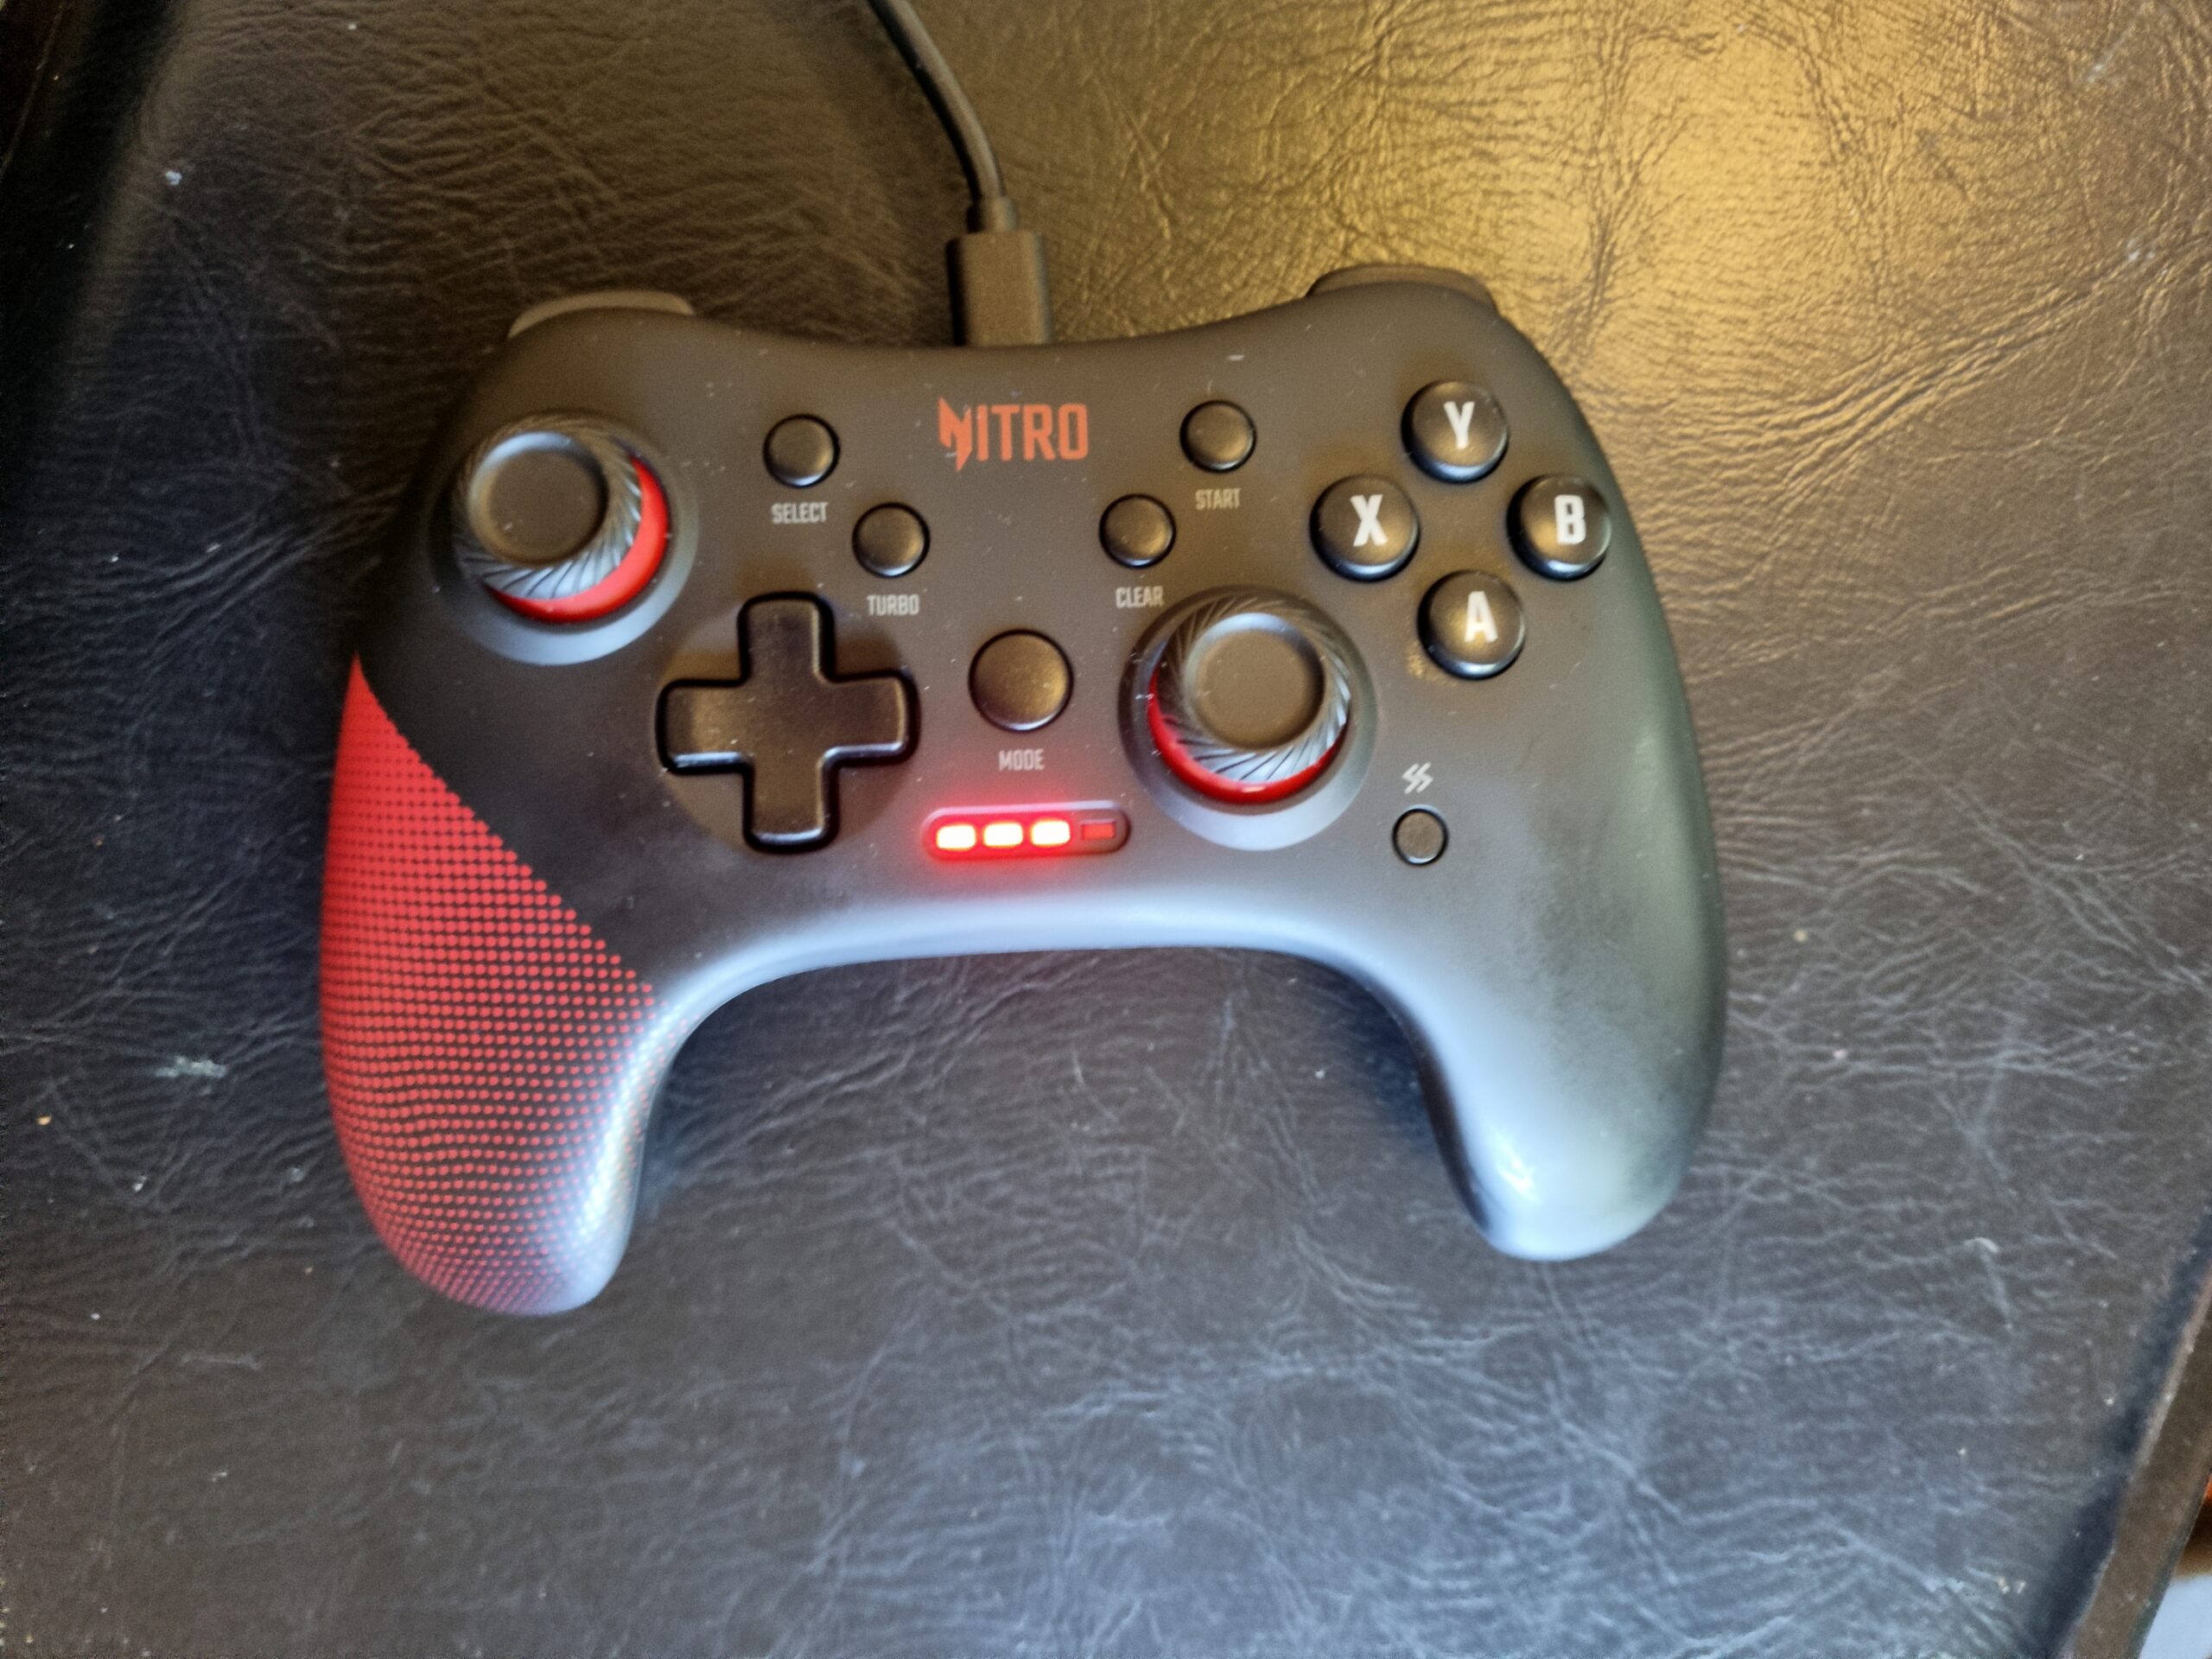
“I have an acer ngr200 USB controller connected to my Linux machine. I would like to see the data stream coming from the device when the buttons are pressed.”
Armed with the contents of /proc/bus/input/devices, I asked You.com for a way to “see” my controller’s data stream.
You.com recommended evtest, guiding me through:
- Installing the tool
- Identifying which
/dev/input/eventXnode belonged to my controller (event16) - Watching live button events as I pressed them
Within minutes, I was watching live output from my controller’s event device in the terminal, allowing me to probe it for activity.
Step 2: From terminal to python with evdev
Next, I wanted to capture button events in Python for use in my own projects.
You.com introduced me to the brilliant python-evdev library and provided a concise sample to display button presses:
from evdev import InputDevice, categorize, ecodes

device = InputDevice('/dev/input/event16')

for event in device.read_loop():
    if event.type == ecodes.EV_KEY:
        key_event = categorize(event)
        print(f"Key {key_event.keycode} {'pressed' if key_event.keystate == key_event.key_down else 'released'}")
That print statement turned out to be a diagnostic powerhouse, providing readable, real-time feedback on every button press. From this point on, it was quite easy to figure out which physical buttons fired which events.
Step 3: The first sound—adding samples
With reliable input reading, I asked:
“How do I play an mp3 sample when BTN_A or BTN_B is pressed?”
You.com handed me a neat solution with the playsound library, combining evdev for input and threading for non-blocking playback:
from playsound import playsound
import threading

def play_sound(file):
    playsound(file)

for event in device.read_loop():
    if event.type == ecodes.EV_KEY:
        key_event = categorize(event)
    	if key_event.keycode == 'BTN_A' and key_event.keystate == key_event.key_down:
        	threading.Thread(target=play_sound, args=('01.mp3',)).start()
It worked! But real use revealed edge cases.
For instance, sometimes key_event.keycode was a tuple, so I adjusted my check to:
if "BTN_A" in key_event.keycode:A small, yet important, hands-on tweak. When working with LLMs the process is rarely just “plug and play,” but observe, test, tweak, repeat.
Step 4: Handling playback stop and switching to pygame
But what if my sound sample was long, and I only wanted it to play as long as the button was held?
I asked You.com for a solution to stop playback instantly on key release.
Initially, the answer used threading logic to join and terminate current sounds—but playsound had a limitation: it couldn’t actually be interrupted.
Despite code that detected release events and printed helpful debug lines, the audio would always play to completion.
“Let’s use something we can stop,” You.com suggested, and showed me how to use another library – pygame. With pygame.mixer, playing and stopping sounds based on button press/release became trivial and effective:
import pygame

pygame.mixer.init()

def play_sound(file):
    pygame.mixer.music.load(file)
    pygame.mixer.music.play()

def stop_sound():
    pygame.mixer.music.stop()
Now, samples truly started and stopped when I pressed and released a controller button—perfect for live performance. Great success!
Step 5: Generalization—scaling up!
Feeling confident, I asked to scale up to nine buttons and nine different samples (“01.mp3” through “09.mp3” in a “samples” directory).
You.com recommended a tidy mapping dictionary, letting me expand the code easily:
button_sample_map = {
    'BTN_A': '01.mp3',
    'BTN_B': '02.mp3',
    # ... more buttons ...
}
for button, sample in button_sample_map.items():
    if button in key_event.keycode:
        # Play or stop as needed
Now, my script was robust, readable, and scalable—ready for triggering some samples.
Final working code:
import pygame
from evdev import InputDevice, categorize, ecodes
import os

# Replace with the correct event device for your controller
device = InputDevice('/dev/input/event16')

# Define the path to the samples directory
samples_dir = 'samples'

# Map buttons to their corresponding sample files
button_sample_map = {
    'BTN_B': '01.mp3',
    'BTN_A': '02.mp3',
    'BTN_C': '03.mp3',
    'BTN_X': '04.mp3',
    'BTN_Z': '05.mp3',
    'BTN_TR': '06.mp3',
    'BTN_TL': '07.mp3',
    'BTN_Y': '08.mp3',
    'BTN_SELECT': '09.mp3'
}

# Initialize pygame mixer
pygame.mixer.init()

def play_sound(file):
    pygame.mixer.music.load(file)
    pygame.mixer.music.play()

def stop_sound():
    pygame.mixer.music.stop()

def main():
    print(f"Listening to events from: {device.name}")
    for event in device.read_loop():
        if event.type == ecodes.EV_KEY:
            try:
                key_event = categorize(event)
            except KeyError:
                # Some devices might send key codes that are not recognized by the library
                continue

            for button, sample in button_sample_map.items():
                if button in key_event.keycode:
                    if key_event.keystate == key_event.key_down:
                        print(f"{button} pressed, playing {sample}")
                        stop_sound()
                        play_sound(os.path.join(samples_dir, sample))
                    elif key_event.keystate == key_event.key_up:
                        print(f"{button} released, stopping {sample}")
                        stop_sound()


if __name__ == '__main__':
    main()
Conclusion and next steps
In less than an hour and about 60 lines of Python, my USB controller became a real-time audio sampler, mapped in a way that felt custom-tailored. The secret? Step-wise development, persistent debugging, and the help of a responsive, knowledgeable AI assistant. My setup is now ready for tomorrow’s rehearsal—a testament to the power of modern tools.
Is there more to be done here? Of course – the current iteration only allows us to trigger one sample at a time, there is no support for fading a sample in and out or for cross-fading two samples. Still, if you’re thinking of making your own tactile/interactive audio setup, don’t be afraid to start simple and build up, one solved problem at a time!